Jelly-style plum jam
A recipe from cooking-ez.com October 13th 2019126 K3.3

For 1 kg 200 g, you will need:
- 1 800 g plums
- 2 600 g caster sugar
- 3 40 g jam gelling agent
- 4 100 g caster sugar
- Total weight: 1,540 grams
Times:
| Preparation | Cooking | Start to finish |
|---|---|---|
| 12 hours 40 min. | 35 min. | 13 hours 15 min. |
Step by step recipe
| 1 | The day before, rinse and dry 800 g plums. | 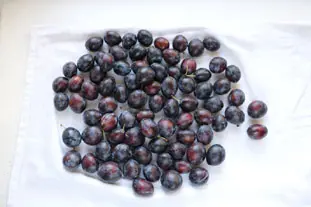 |
| 2 | Cut the plums in half, remove and discard the stones. Put the fruit into a large bowl. | 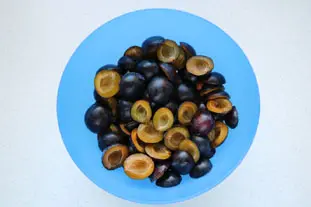 |
| 3 | Sprinkle 600 g caster sugar over, mix in briefly, cover and leave overnight. | 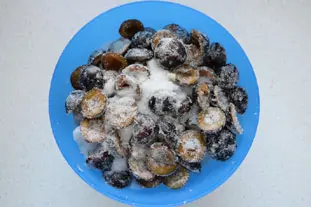 |
| 4 | Next day, you will find the plums covered with a syrup – just what we are after. | 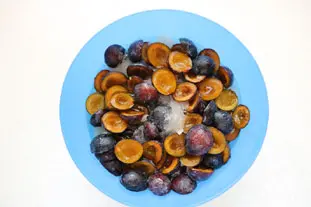 |
| 5 | Transfer the plums with their syrup to a large pan on high heat and bring to the boil. Turn down the heat and leave to simmer for 2 minutes. | 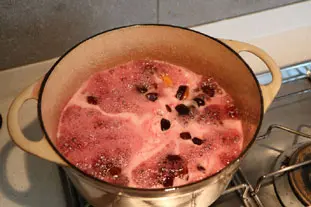 |
| 6 | Take off the heat and tip the contents of the pan into a vegetable mill over a bowl... | 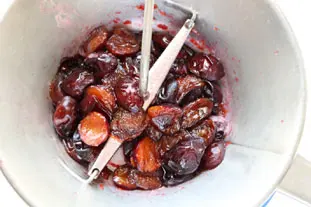 |
| 7 | ...and process. You will end up with the plum pulp and juice in the bowl, leaving the skins in the mill. | 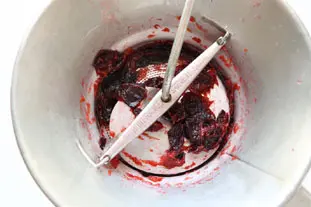 |
| 8 | Discard the skins and return the contents of the bowl to the pan on medium heat. | 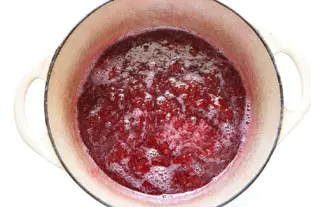 |
| 9 | Bring to the boil and skim off any scum to keep the jelly nice and clear. |  |
| 10 | In a bowl, mix 40 g jam gelling agent and 100 g caster sugar with a whisk. Note that the correct proportion is 40 g of gelling agent per kilo of fruit+sugar. If you end up with a different weight of fruit+sugar, you can recalculate this amount: | 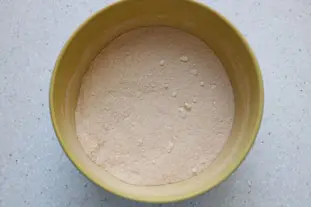 |
| 11 | Tip this mixture into the pan (still on the boil) and mix in with a whisk. | 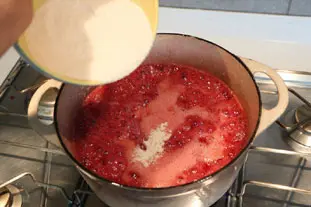 |
| 12 | Wait until it comes back to the boil and cook for a further 3 minutes. | 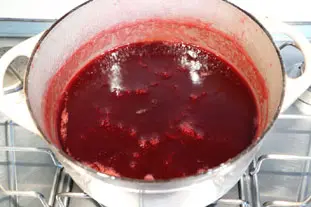 |
| 13 | Pour the jelly into jars. | 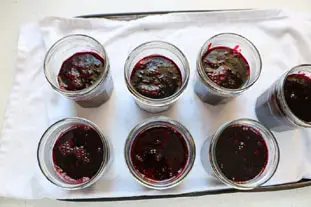 |
| 14 | Seal the lids and turn the jars upside down. The air trapped in the jars will be sterilised naturally as it passes up through the boiling hot jam. | 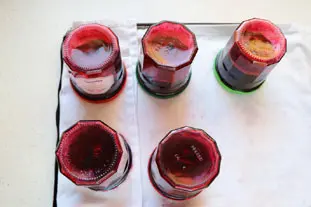 |
| 15 | Turn the jars back the right way up and leave to cool. Store in the dark. | 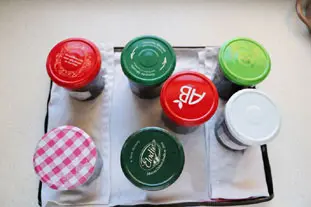 |
| 16 | Enjoy your plum jelly at your leisure. On a simple slice of toast with a bit of decent butter, it's a real treat. | |
Remarks
Of course, if you leave the skins in, this will give you a normal plum jam – which is great, too. In this case, I recommend cutting the plums in half or into quarters as this makes the jam easier to spread.All types of plums (Victoria, damsons, mirabelles, greengages...) are suitable for this recipe.
View this recipe : https://cooking-ez.com/desserts/recipe-jelly-style-plum-jam.php
June 25th 2026.