Crème brulée
A recipe from cooking-ez.com December 31th 20111.69 M 74.7
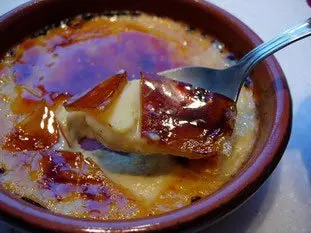
For 6 people, you will need:
- 1 250 ml milk
- 2 250 ml cream
- 3 60 g caster sugar
- 4 1 vanilla pod
- 5 6 egg yolks
- 6 6 tablespoons caster sugar
- Total weight: 775 grams
Times:
| Preparation | Resting | Cooking | Start to finish |
|---|---|---|---|
| 25 min. | 3 hours 45 min. | 30 min. | 4 hours 40 min. |
Step by step recipe
| 1 | Into a pan pour 250 ml milk, 250 ml cream, and 1 vanilla pod, cut in half lengthways, and all the small black seeds inside added to the milk+cream mix. Bring to the boil over medium heat. Remove from heat, cover and leave the vanilla to infuse for about 10-15 minutes. | 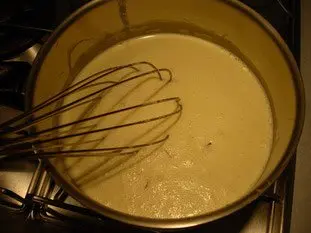 |
| 2 | Meanwhile, in the solid shelf of your oven (or a deep baking sheet), put a large sheet of paper. The paper is there to prevent boiling water to making bubbles when cooking, and so keep the cream smooth. | 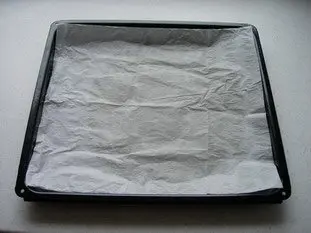 |
| 3 | Place your dishes on it. | 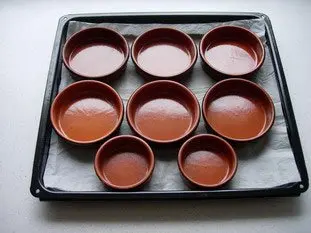 |
| 4 | In a bowl put 6 egg yolks and 60 g caster sugar. Preheat oven to 302°F (150°C). | 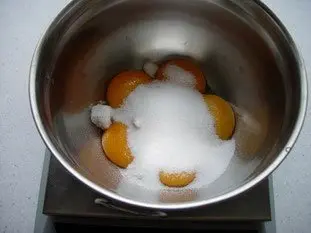 |
| 5 | Mix quickly with a whisk or a maryse. Contrary to popular belief, you should not them beat until they become white, otherwise your cream will be full of foam. | 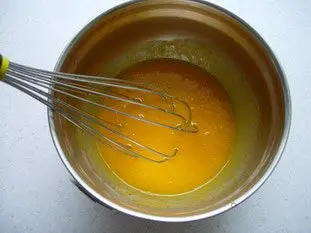 |
| 6 | Pour the vanilla milk onto into the egg mixture while stirring. | 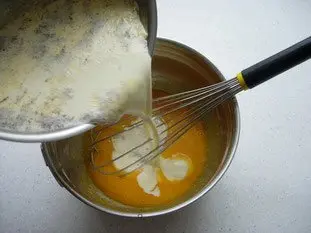 |
| 7 | Stop stirring as soon as mixed. | 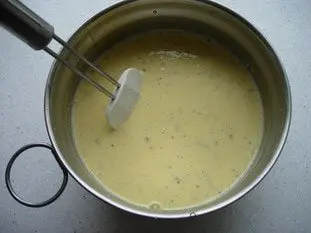 |
| 8 | Rinse pan and pour contents of bowl back into pan through a strainer... | 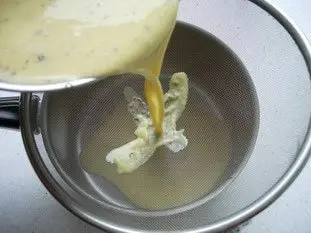 |
| 9 | ... to remove all pieces of vanilla pod, but NOT the small black grains (so not too fine a strainer). | 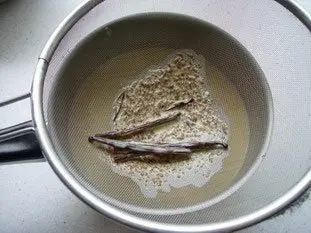 |
| 10 | Your cream is ready for cooking. | 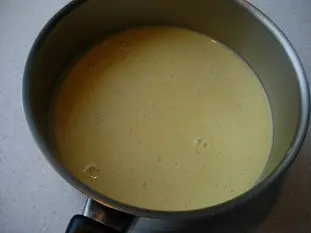 |
| 11 | A little trick: If you want the little black vanilla seeds to be well distributed in the cream, you must prevent them to fall in the bottom of the pots, which inevitably comes with a liquid preparation as it. The trick is therefore a slightly pre-cook of the cream over low heat, like a real custard sauce (crème anglaise), to thicken a little, until we can trace with his finger on the spatula and the line stay (as pictured). Note: If you do this, reduce the oven cooking time to about 15 minutes. | 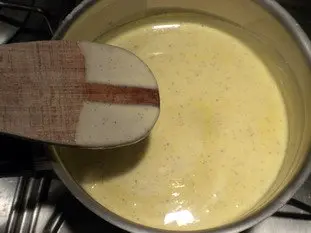 |
| 12 | Divide cream between dishes, put in the oven, and pour boiling water into the tray. Cook for about 20 minutes, until creams are just cooked but still soft. | 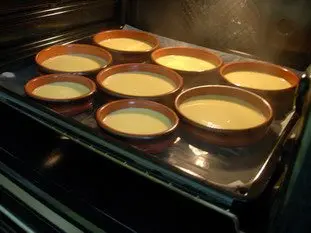 |
| 13 | Remove from oven, allow creams to cool for about one hour, then refrigerate for at least two hours. Creams should be really cold. | 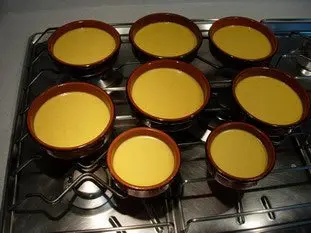 |
| 14 | This is THE delicate moment, burning... Pour a tablespoon of sugar on top of cream, and burn it like on this small demonstration video. Note: the best tool for burning cream is a blow-lamp. If you don't have one, see below how to use your grill. | |
| 15 | In the end you should get the famous thin brown crust all over the surface of the cream. | 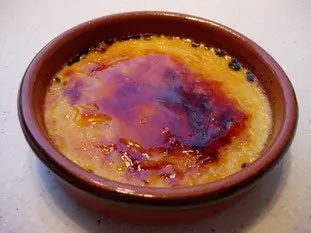 |
| 16 | Put the cream back in the fridge for about 30 minutes for caramel to set and become crunchy, and the cream cold again. Reheat crust a few seconds before serving your guests with the perfect crème brulée: cold cream with a fine layer of hot crunchy caramel. | |
Remarks
As I said, the perfect crème brûlée (for me) is a soft and cold cream with a thin hot, brown and crunchy crust. Here are some tips:- Pre-cook the cream a little in the pan before putting into dishes, it will be less liquid, so the black grains of vanilla will be evenly mixed in the cream and not sink to the bottom. If you do this, reduce the oven cooking time to about 15 minutes.
- Proceed in two stages: burn the creams and refrigerate for about half an hour to cool. Just before serving, re-heat them with the blowlamp for just a few seconds.
- It's easier to get a good crust if you use white sugar rather than brown, but it's a matter of taste.
If you do not have a blowlamp, you can try using your grill: put creams in the grill pan (or deep solid baking sheet), add cold water to half the depth of the dishes, and put under grill for just one or two minutes (maximum) to caramelize sugar. Cold water is there to protect cream against the heat, but it's very difficult because the grill is always too hot.
Some different flavours:
- Crème brûlée with almonds: add 20 g ground almonds to the milk before heating, and add 3 drops of almond extract to the cream before pouring into dishes.
- Mint and chocolate crème brûlée: add a handful of mint leaves (cut roughly with scissors) to the milk. Proceed as usual, but when burned and cooled, put a small layer of melted chocolate onto the brown crust, put back in the fridge for a few minutes until the chocolate sets.
- Pear and maple syrup crème brûlée: dice pears like for verre façon "Belle Hélène", put these into dishes before adding cream and proceed as usual. Surprise your guests - don't tell them what's in your Crème brûlée!
View this recipe : https://cooking-ez.com/desserts/recipe-creme-brulee.php
July 15th 2026.