What wood to use?
You can use softwoods (conifer) with no problems, but it burns quickly. It's better to use hardwoods like oak or beech.Here is a summary of the heating power of the main types of wood, the higher the number, the more heat it given when burning.
| Wood | Heating power |
|---|---|
| Hornbeam | 10 |
| Oak | 9.9 |
| Ash | 9.2 |
| Maple | 9.1 |
| Birch | 8.9 |
| Elm | 8.4 |
| Beech | 8 |
| Willow | 7.1 |
| Fir | 7 |
| Alder | 6.7 |
| Pine | 6.7 |
| Larch | 6.6 |
| Aspen | 6.5 |
| Lime | 5.7 |
| Poplar | 5 |
Source : M. Marin in "Les fours à pain", Rustica edition 2004
The oven before heating
If the oven has not been used for a long time (after a winter, for example), or if it's brand new, it's important not to start with normal heating, but in stages, otherwise the sudden rise in temperature could cause thermal shock and damage the kiln (cracks, etc.).This operation, known as "dehumidification", consists of making small fires, spaced one day apart, of increasing importance until normal heating is achieved.
Starting up
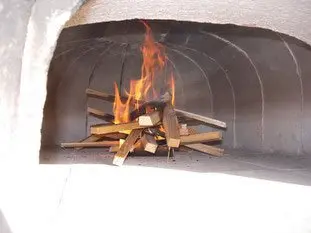
To start heating, light a small fire in the middle of the oven. You can use a fire starter (such as solidified alcohol for barbecues or organic barbecues) or the classic newspaper and kindling.
This little fire should be made with small, dry pieces of wood, to get things off to a good start.
Maintenance
Once the fire has got off to a good start, we feed it with slightly larger pieces of wood. It's best to use split wood, which burns better.
Note: slightly larger pieces don't mean "logs"; finer pieces burn with more flame and heat the oven faster.
Another thing to bear in mind: flames heat up more than embers, so it's better to have a "normal" fire with flames than embers in the hearth when you want a good temperature rise.
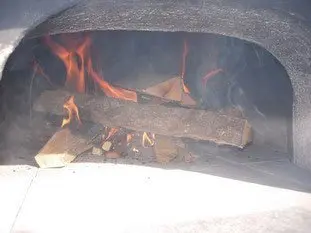
When is the oven at the right temperature?
We continue to feed the fire in this way for about two hours, until it's "at the right temperature".
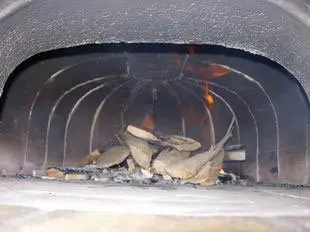
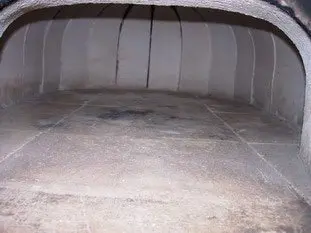
The best indication of the right temperature is to observe the oven roof: black at the start of heating...
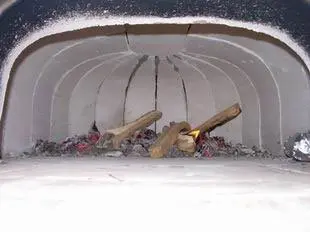
...it turns white again (it pyrolyses, as in an electric oven), indicating that it's ready.
Now it's time to cook on an open flame.
Temperature stabilization
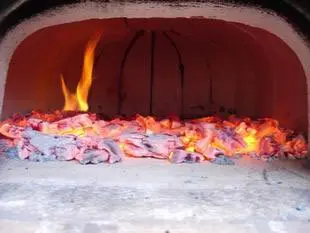
We then stop feeding the fire with wood, and spread the remaining embers over the entire surface of the hearth to distribute the heat evenly and create an even oven.
Generally, the embers are spread out, and the oven is left like this for an hour.
Preparing the oven
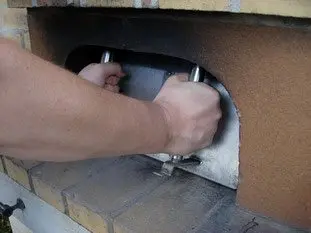
Once the oven is hot and stable, it must be prepared for firing in 2 stages:1°) Emptying
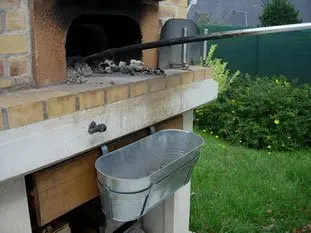
All the embers and as many as possible of the ashes left in the oven are removed with the rable, and collected in an ashtray (in this case, a simple sheet-metal fl ash pan).
They can then be poured down the chimney, so no energy is lost.
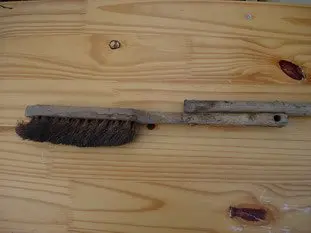
The brush is wetted to protect it from the oven's heat, otherwise it would burn.
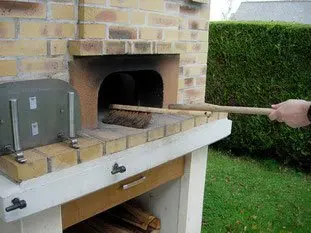
And sweep the remaining ashes away.
2°) Cleaning
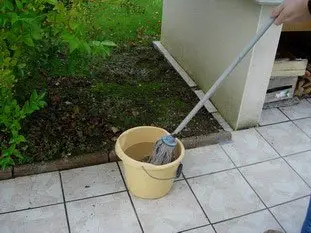
Finally we wet the mop...
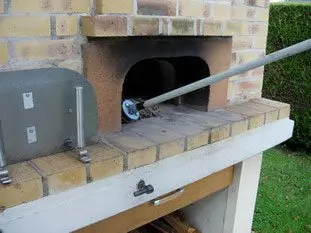
...which we pass over the hearth to remove the last ashes and small pieces of coal.
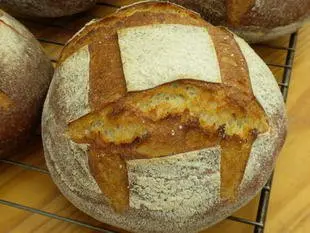
Now the oven is ready to receive the dough pieces!
Then close the oven door, and wait for it to come down to the right temperature (around 250°C).