What is a pastry bag?
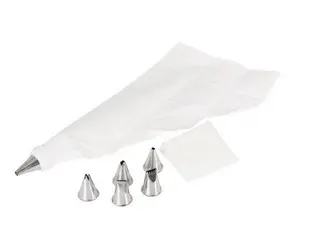
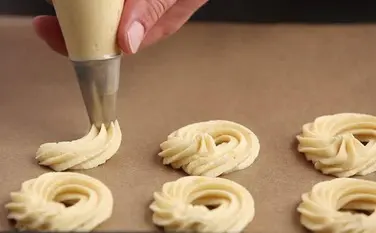
Quite simply, it's a kind of large cone-shaped plastic bag (the bag), in the bottom of which we place an outlet, usually made of very hard plastic, polycarbonate (the nozzle).
The bag is filled with the chosen preparation - cream, paste, mousse, etc. - then closed, and the contents squeezed out through the nozzle.
This gives you complete control over the output (flow) and shape of the cream/paste, thanks to the nozzle.
It's the favorite, indispensable tool of pastry chefs, who use it time and time again. In fact, they use the term "pocher", which in this context doesn't mean cooking, but piping.
In fact, bakers love to gently mock pastry chefs by saying that they "can't do anything without a pastry bag".
Useful at home?
Oh yes, indispensable even for an incredible number of preparations of all kinds. It's virtually impossible, for example, to make anything aesthetically pleasing in choux pastry without "piping".
Difficult?
It's hardly complicated in principle, you just press on the bag and the mixture comes out, but getting the pressure right and being precise is much harder, but that comes with time.
Piping even macarons, for example, is not at all easy, especially at first.
The first difficulty is filling the bag, which sounds a bit odd when you say it like that, but if you're alone in the kitchen, it can quickly become a real pain: you have to spread the bag, pour in the cream (sometimes in several stages), push it to the bottom, scrape out the rest, be careful that what's in the bag doesn't start to come out through the nozzle when the filling isn't finished, close the bag, avoid air bubbles and leaks, and that's where the 3 or 4 arms I mentioned almost come into their own...
How do you do it?
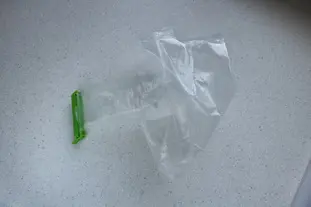 1) If your preparation is rather liquid, such as mousse, cream, etc., pinch the tip of the bag with a freezer bag clip, a large clothespin or even a rubber band to prevent leakage during filling.
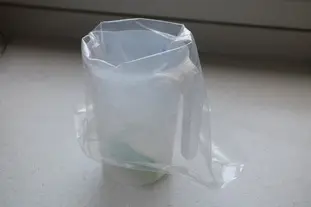 2) Place the empty, pinched bag in a container with a high rim (like a graduated liter), spread the edges apart and place in front of you: it can wait, it won't move.
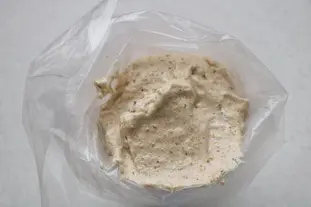 3) Slowly pour the mixture into the bag, then scrape it all down with a silicone spatula (no waste).
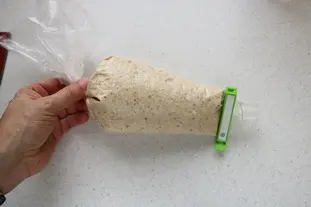 4) Close the bag by twisting the plastic (to avoid air bubbles) and remove it from the high-sided container. You can leave it to stand for a while, so your preparation is protected from the air.
 5) When you're ready to pipe, hold the bag with the tip upwards, remove the clip, turn it downwards and pipe away!
That's it, you know it all, but I'd like to finish by pointing out that, at first, it can be a bit disastrous, as you have very little control over the flow of the bag and the shaping, but don't lose hope, you'll see with time and experience, it'll come...
To sum up: to fill a bag properly, pinch the end if the preparation is rather liquid, then fill with the bag placed in a high-sided container, not held in the hand.